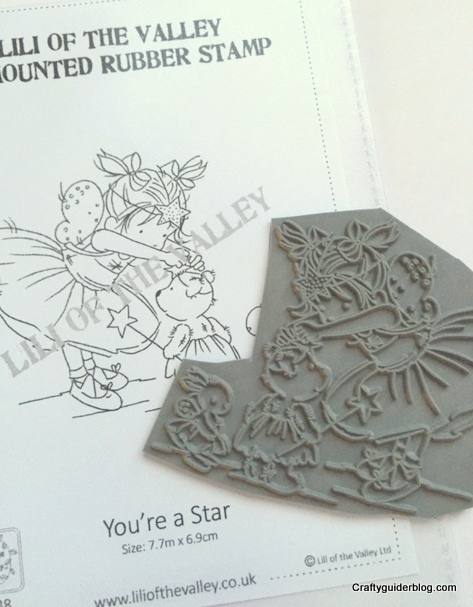
 There are lots of different type of stamp available on the market. When I started crafting *eh-herm* a few years ago, wood mounted blocks were the thing. They are the ones with typically a red or grey rubber stamp stuck on a wooden handle. They are easy to use but difficult to position on the page accurately as you cannot see the image when you stamp. They are also bulky to store.
Clear stamps are great. They cling to acrylic blocks so that you can use them, you can see where they are going to stamp and they are easy to store.
Sometimes though, you get lovely images on unmounted rubber stamps like the one above from one of my favourite stamp suppliers, Lili of the Valley. They do have the storage benefits of clear stamps, but they need mounting before they can be used.
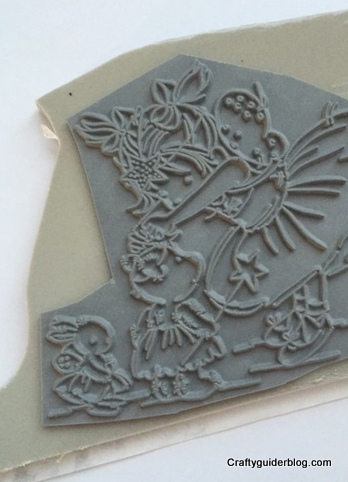 You need to buy some mounting foam which has a permanent adhesive on one side, and a cling surface on the other. I had an offcut (the light grey in the picture) which fitted my stamp, and I fixed the stamp to the permanent adhesive side.
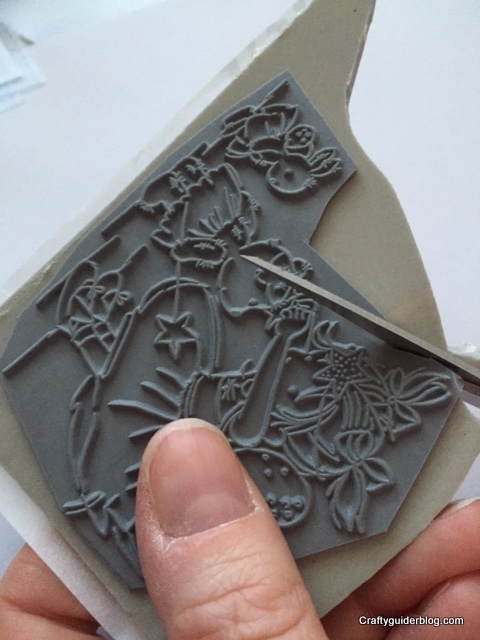 To ensure a clean stamped image, carefully trim the excess foam and rubber leaving a small border around the edge. Non stick scissors are good for this. It helps avoid those annoying smudges at the edges of stamped images where the ink pad has caught the background as well as the raised image.
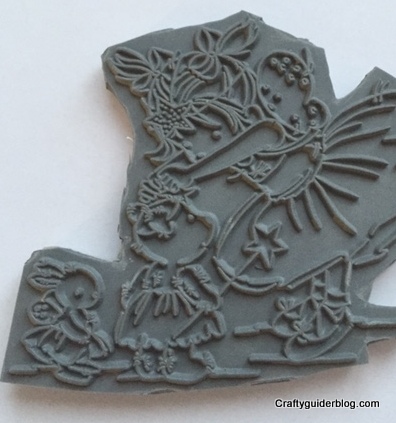 This is my trimmed stamp. The foam backing gives an even image transfer as you can really squish it down when you stamp.
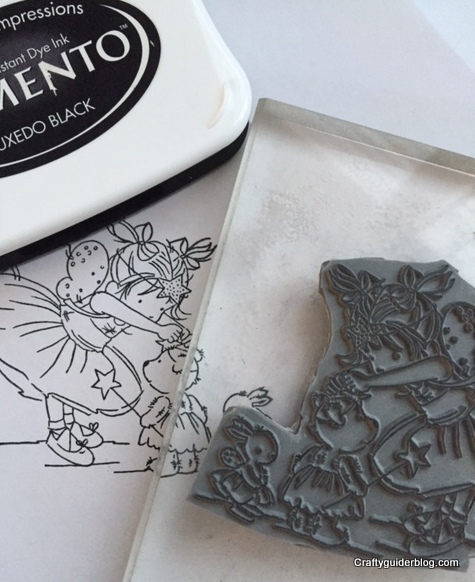 I use Memento ink pads when I stamp an image I want to colour in with my Promarkers so the ink doesn’t bleed.
Isn’t it a gorgeous image? It was chosen by youngest Craftyguidelet when she came to a craft show with me. She’s got good taste!
Disclaimer: Any links contained in this blog are not affiliate links and I don’t get any money if you click on them.
